Roadrunner is a robust email service that is used by people all around the world for both personal and professional reasons. Such advanced email services are provided by Time Warner Cable (TWC), a well-known communication-based firm. It does, however, work on a multitude of platforms, including Android, iOS, Mac OS X, and Windows. However, before you can use any of these devices, you must first set up your Roadrunner Email Settings. As a result, if you are a current TWC service user and have properly configured Roadrunner's two key components, POP or IMAP settings, you should be able to work without difficulty.
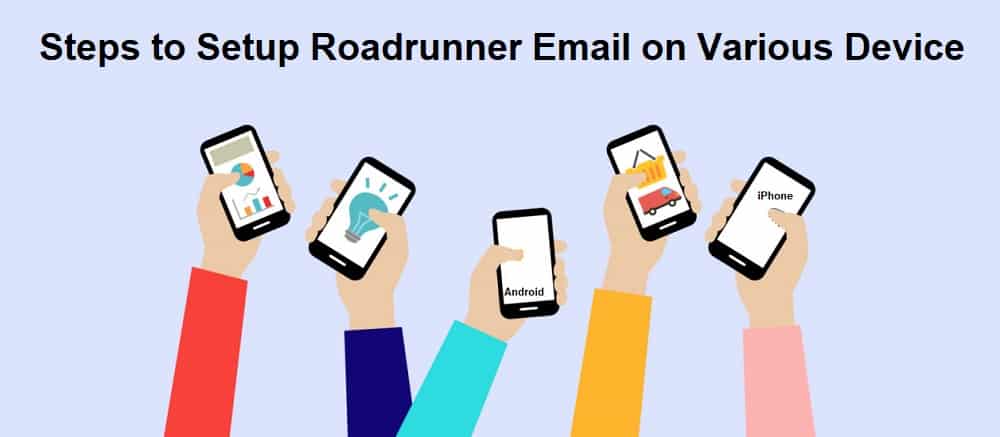
The procedures for establishing Roadrunner Email Settings for various types of devices are described in this article.
For Android Phones, Manual Roadrunner Email Settings
- To set up on Android Phones Open the Email app on your Android phone.
- Simply type in your Road Runner email address and choose "Next" from the drop-down box.
- choose "Click Next" after selecting "Personal (POP3)" from the drop-down menu.
- After typing your Roadrunner password again, press the "Next" button.
- Enter the following information in the "Roadrunner POP3 Incoming server settings."
- After configuring the inbound server, press the "Next" button.
- Now it's time to set up the system "Server settings" for incoming traffic.
- It's now time to set up the system "Settings" for the incoming server.
- Now hit "Next" once again, and then "Next" once more.
- In the "Your name" column, type your full name. When individuals get email from you, this is the name that will be shown.
- To finish the Road Runner mail setup, click "Next" one again.
Apple Devices and the Roadrunner Email POP Server
- Select mail, contacts, and calendars from the email settings. Select an email provider by tapping the "add account" button.
- Fill in your email ID's login information, such as the username and password.
- Configure the POP server settings for Road Runner mail first – choose POP 3 from the drop-down menu – and then the outgoing email setup.
- "Save" and choose the email settings that appear on the screen.
- Then choose SMTP as the primary email server and 25 as the server port >>> "It's over now."
- To make the changes stick, reboot your device. And thus set up on Apple devices works
How to set Up RR Email on your Kindle Fire
- To begin, go to your amazon kindle fire's home screen.
- After that, navigate to the list of mail service providers and select the RR email option from the drop-down menu.
- Then you must pick your favorite.
- Then, under the TWC Email login drop-down option, provide the relevant information.
- Then, type the name you want people to see. When you send an email, your name is visible to others. As a result, make an informed choice.
- Then, open the RR email's inbox folder to see whether any emails have arrived.
You may configure RR Email on the kindle fire by following these steps. You can also manually set up your Roadrunner email. So, if you're looking for instructions on how to manually configure RR email on a Kindle Fire, keep reading.


Comments (0)